This page contains affiliate links, which means we may earn a small amount of money if a reader clicks through and makes a purchase. All our articles and reviews are written independently by the Netmums editorial team.
Baked ice cream sticky toffee cupcakes
A beautiful alternative Christmas treat for the kids...
-
Recipe:
Recipe by Fiona Faulkner

- Difficulty: Medium
- Serves 8+
- Freezable
Preparation
- Total time
- 3 Hrs 36 Mins
- Preparation time
- 3 Hrs 15 Mins
- Cooking time
- 21 Mins
-
150g pitted dates (approx the size of large raisins), chopped
-
250ml boiled water
-
2 tbsp bicarbonate of soda (you’ll be using a teaspoon each in separate steps!)
-
150g plain flour
-
1 tsp baking powder
-
50g light brown sugar
-
75g unsalted butter
-
3 tbsp golden syrup
-
1 tsp vanilla extract
-
2 eggs, beaten
-
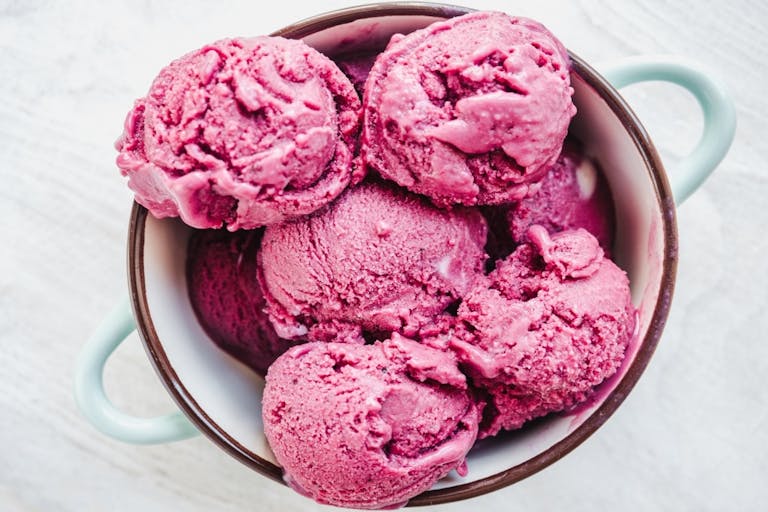
10 tsp vanilla ice cream
-
4 egg whites
-
200g caster sugar
-
Prep up first... Get the kettle on and the oven up to 170'C/Fan 150'C/Gas mark 3
-
Place 10 cupcake/muffin paper cases in a deep muffin tray and chop up the dates
-
Place the chopped dates in a bowl and cover with 250ml just-boiled water - add 1 tsp bicarbonate of soda, give it a quick stir and leave for 10 minutes
-
Meanwhile, sift the flour and baking powder into another bowl together with a further 1 tsp bicarbonate of soda, then set aside
-
Place the brown sugar in a large mixing bowl and set this aside too
-
Place the butter and golden syrup in a small pan and gently heat through, stirring, until the butter has melted (you don’t need to get it too hot or for it to boil) - is 10 minutes up yet? Drain off those dates
-
Pour the syrup’y butter mix over the brown sugar and stir with a metal spoon, removing any lumps as you go - add the drained dates and 1 tsp vanilla extract, stir
-
Add half the flour mix and the eggs, now gently stir to combine, add the last half of the flour and – still gently – stir through again to combine
-
Divide equally between the cases and bake in the oven for 18 minutes, take them out of the oven and leave in their baking trays for a further 10-15 minutes, then remove them from the trays and leave to cool on a wire rack for around 45 minutes
-
Take each cupcake and a sharp knife, cut a hollow out of the top of each cupcake, cutting a circle around the top and cutting down into a sort of small cone-shape, the knife heading towards the centre - don’t cut as far as the bottom though
-
Once you’ve removed this central section, add a small spoonful of fully frozen vanilla ice-cream – chop the chunk of ice-cream to fit inside if you need to - you’ll probably use just under a teaspoon or so
-
Next you’re going to put back the cone section that you just cut away, but before you do, to make sure there’s room for the ice-cream, cut a little off across the thinner bottom of the cone sponge, removing a little bit of cake
-
Then place back as snugly as you can (feel free to press down a bit), hiding the ice cream secret!
-
Do this for each cake, replacing back into the muffin tray as you go - then place the tray of cakes in the freezer for at least one hour, you could leave them overnight if you wanted….
-
20 minutes before serving, pre-heat the oven to 200'C/Fan 180'C/Gas mark 6
-
Around 5-10 minutes before serving, whisk the egg whites until they resemble soft white ‘peaks’ building up the speed as you go (far quicker and easier with an electric whisk)
-
At this stage, gradually add the caster sugar, still whisking - you should still have stiff white peaks of meringue mixture
-
Remove the cakes from the freezer, keeping them in the tray
-
Use a spoon to fully cover the tops of the cupcakes with the meringue – or pipe it on with a nozzle for decorative effect, bake in the oven for just 3 minutes - carefully remove and serve immediately
You will need
Deep muffin tray - Enjoy bigger and better cupcakes or muffins with this giant-sized tin that has six holes. See more details at Amazon .
Muffin cases - This pack of 200, top-quality grease-proof paper promote an even bake and provide a non-stick surface for your baking pans. Find it at Amazon .
Tips
Is it a cupcake - or a mini baked Alaska? Or perhaps these are simply cute miniature versions of a British classic - sticky toffee pudding! Either way, your kids will love the magic of the little scoop of ice cream that has somehow found its way into the very centre of the cake. Shhhh! Don’t ruin the surprise by telling them first!
A note on the recipe itself: It seems like a pretty ambitious thing to achieve but actually is very simple. The most tiresome job to be honest is chopping up the dates! Just follow the instructions and you’ll be fine.
Of course if you wanted, you could stop after Step 7 and simply create these as Sticky Toffee Mini Muffins. But we encourage you to rise to the challenge of taking it a step further - if only to impress the kids and get them wondering how on earth you managed to bake ice cream without it melting…perhaps Santa’s Magic Elves have been at work again? Enjoy!
Variations
Why not add a dollop of Lyle’s Golden Syrup to the ice cream before freezing?
Why not add a dollop of Lyle’s Golden Syrup to the ice cream before freezing?
Try a different ice cream flavour - e.g. toffee (or rum-raisin for grown-ups!)
Try a different ice cream flavour - e.g. toffee (or rum-raisin for grown-ups!)
If you don’t want to top the cakes with the meringue, bake them with the ice cream as directed for the 3 minutes, then top with a dollop of Lyle’s Golden Syrup
If you don’t want to top the cakes with the meringue, bake them with the ice cream as directed for the 3 minutes, then top with a dollop of Lyle’s Golden Syrup
Love sticky toffee? Why not also try this gluten-free sticky toffee layer cake ?
Reviews
-
Guest
★★★★☆ Rated 4 out of 5 stars.came out well
Reviewed on 28/04/15
-
Guest
★★★★☆ Rated 4 out of 5 stars.These turned out very well, the only problem is that they were a little too sickly for me. But the kids LOVED them so we'll definitely be making them again in the near future.
Reviewed on 12/04/15
-
Andrea D(35)
★★★★★ Rated 5 out of 5 stars.Gorgeous - but I do have a sweet tooth :)
Reviewed on 25/03/15
-
Guest
★★★☆☆ Rated 3 out of 5 stars.Very difficult the mixture tasted yummy but cakes didn't turn out right!
Reviewed on 14/03/15
-
Guest
★★★★☆ Rated 4 out of 5 stars.Who knows lots about baking lol - would this recipe work as 1 cake - I want to make a birthday cake with a difference for my husband....
Reviewed on 27/02/15
-
Charmian F
★★★★☆ Rated 4 out of 5 stars.Made these today, lets just say they dont exist in our house anymore lol lovely and relatively easy
Reviewed on 27/02/15
-
Guest
★★★★☆ Rated 4 out of 5 stars.I can't wait to try out this recipe. Fiona has explained it well in every detail. I just hope 3 minutes is enough at the end to thaw out the sponge.
Reviewed on 31/01/15
Related collections
Most loved Netmums recipes
- Slow cooked sausage and onion casserole for kids
- Macaroni cheese for kids
- Fakeaway slow cooker doner kebab
- Tuna pasta bake for kids
- Cheesy mash
- Chocolate cornflake cakes for cooking with kids
- Rice Krispie cakes made with golden syrup
- Easy treacle syrup sponge pudding
- Chocolate tiffin
- Banana flapjacks